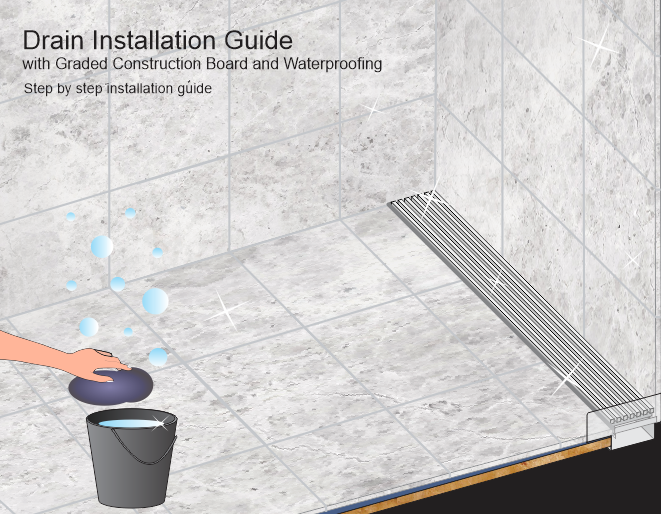
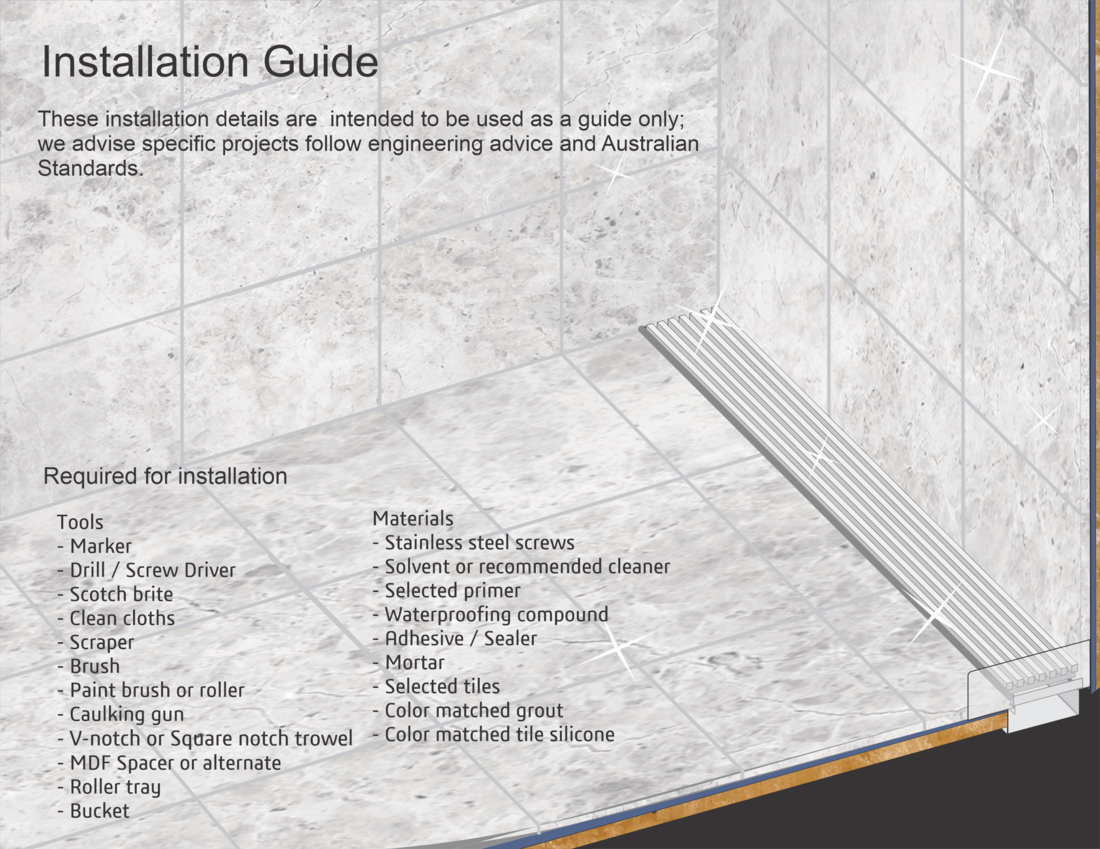
Guide
Step 1
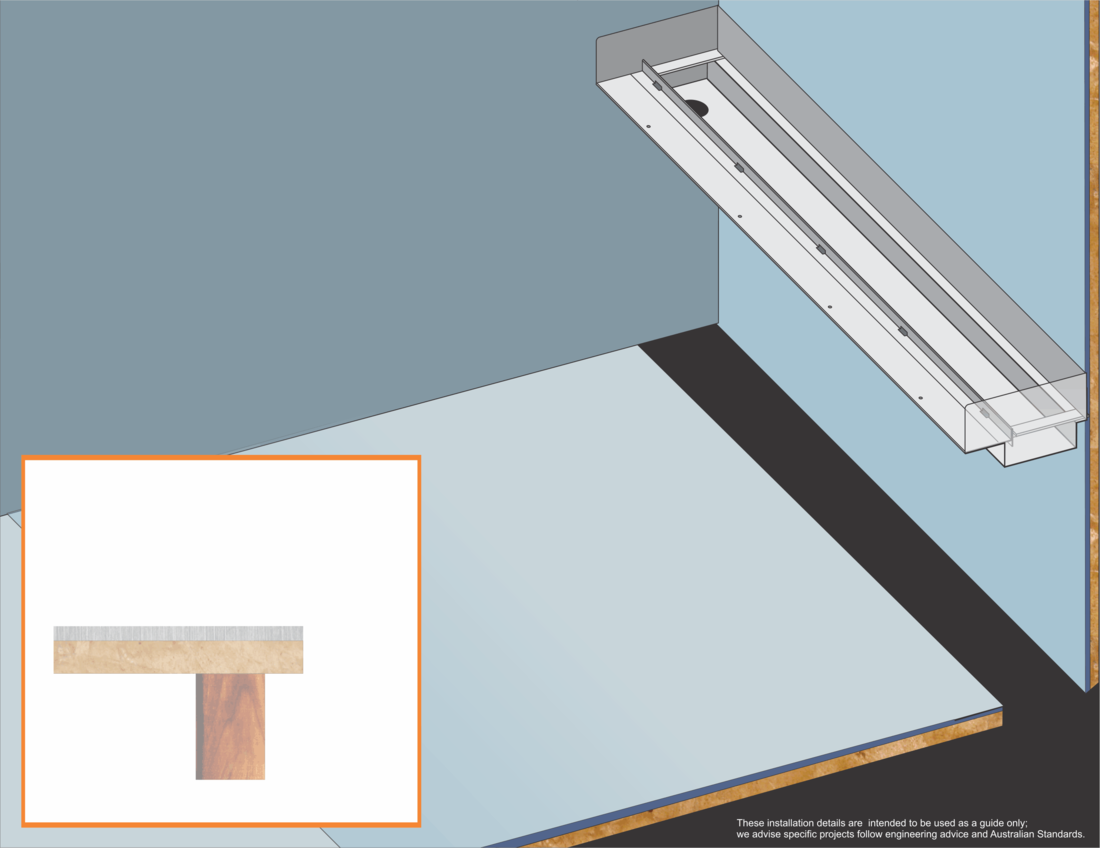
Set up the floor area and rebate to match the drain.
Install the ceramic tile underlay to manufacturer specifications; graded toward the outlet
Step 2
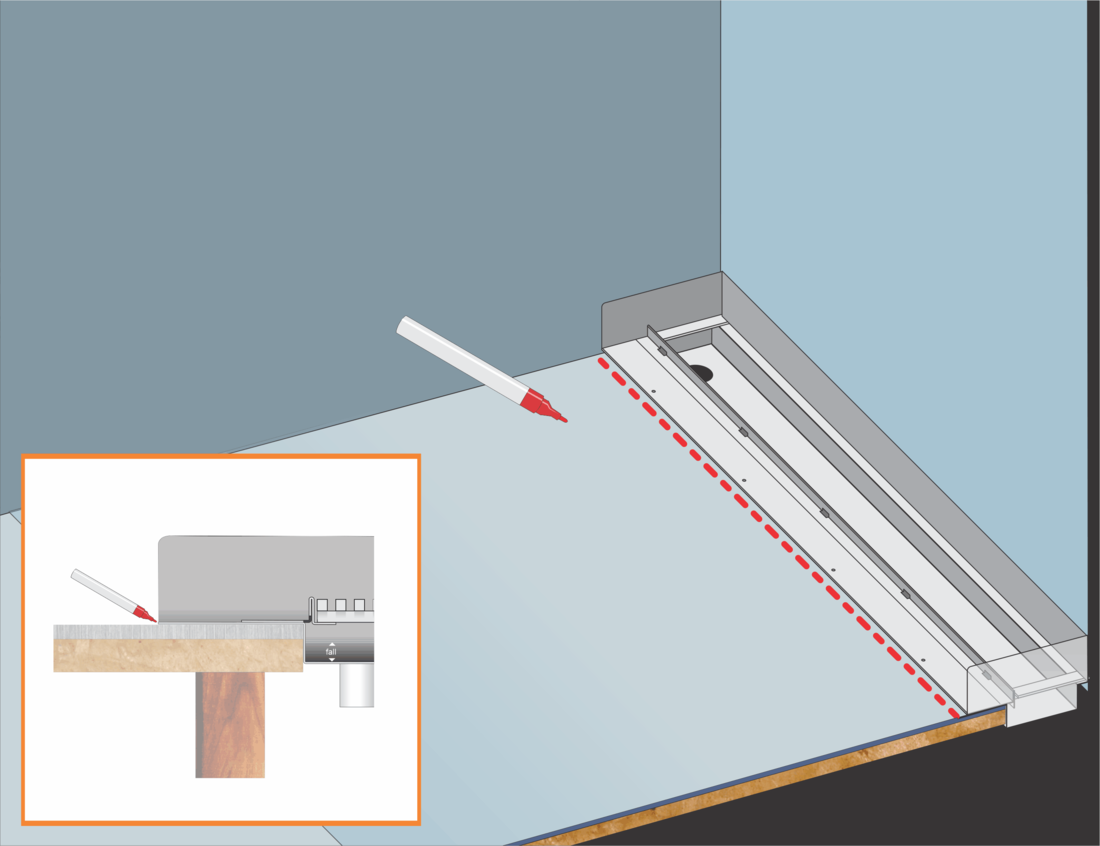
Temporary place the drain channel in position and mark the extremities (including flanges and fixing tags).
Step 3
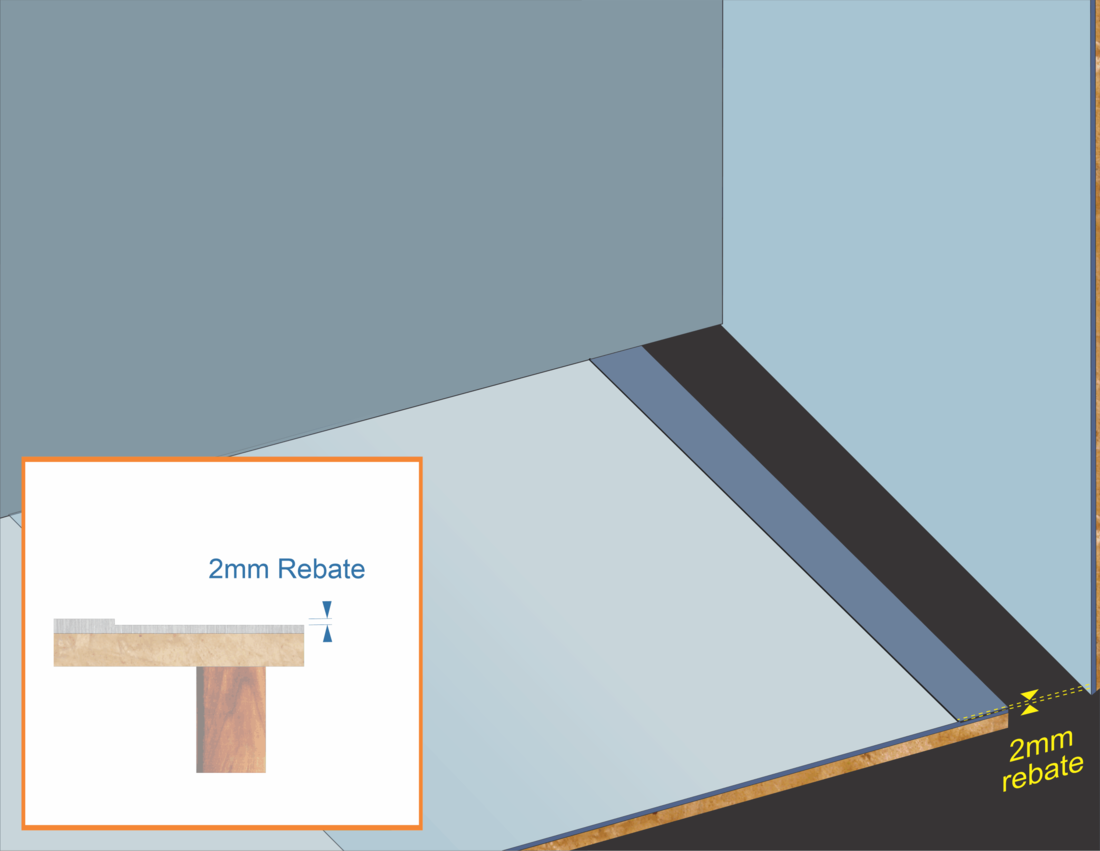
Create a 2mm rebate along the marked extremities to allow for the drain to floor flashing to sit in.
Step 4
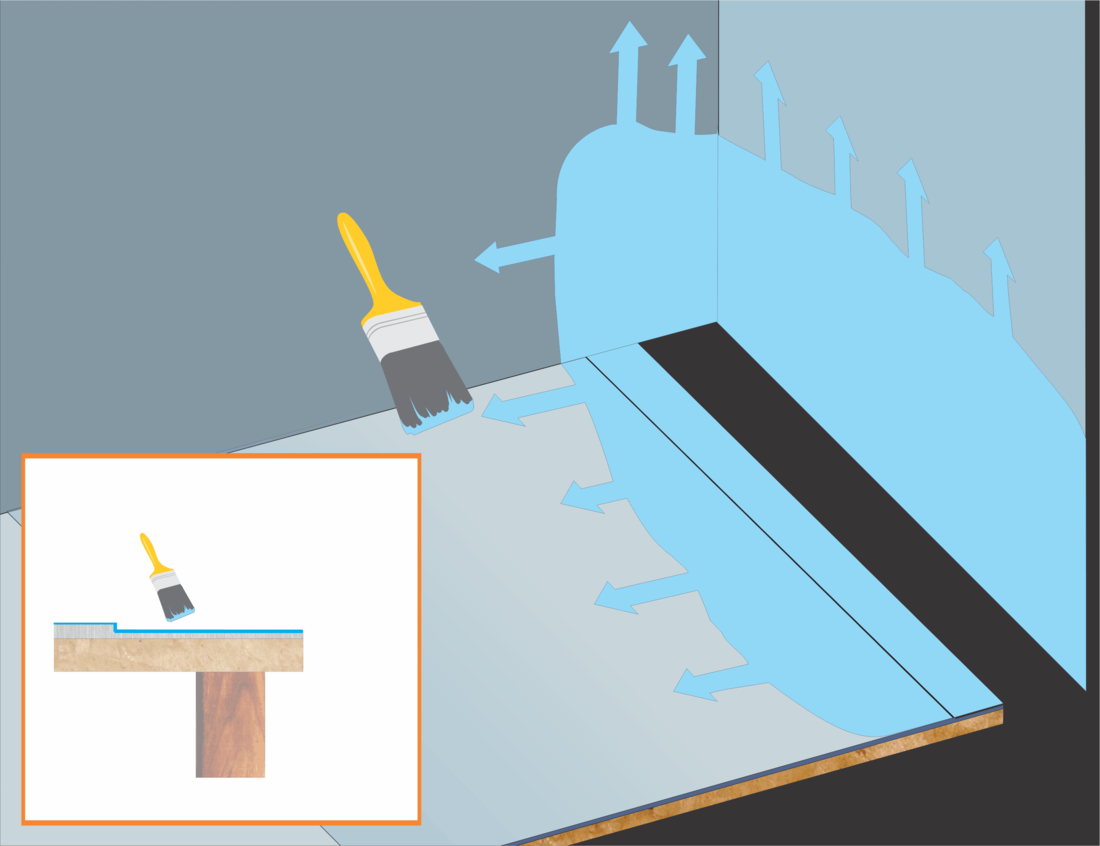
Clean the entire floor area, apply a suitable surface primer and then apply a propriety waterproofing compound. ie Acrylic or Polyurethane compound to Australian Standards.
Step 5
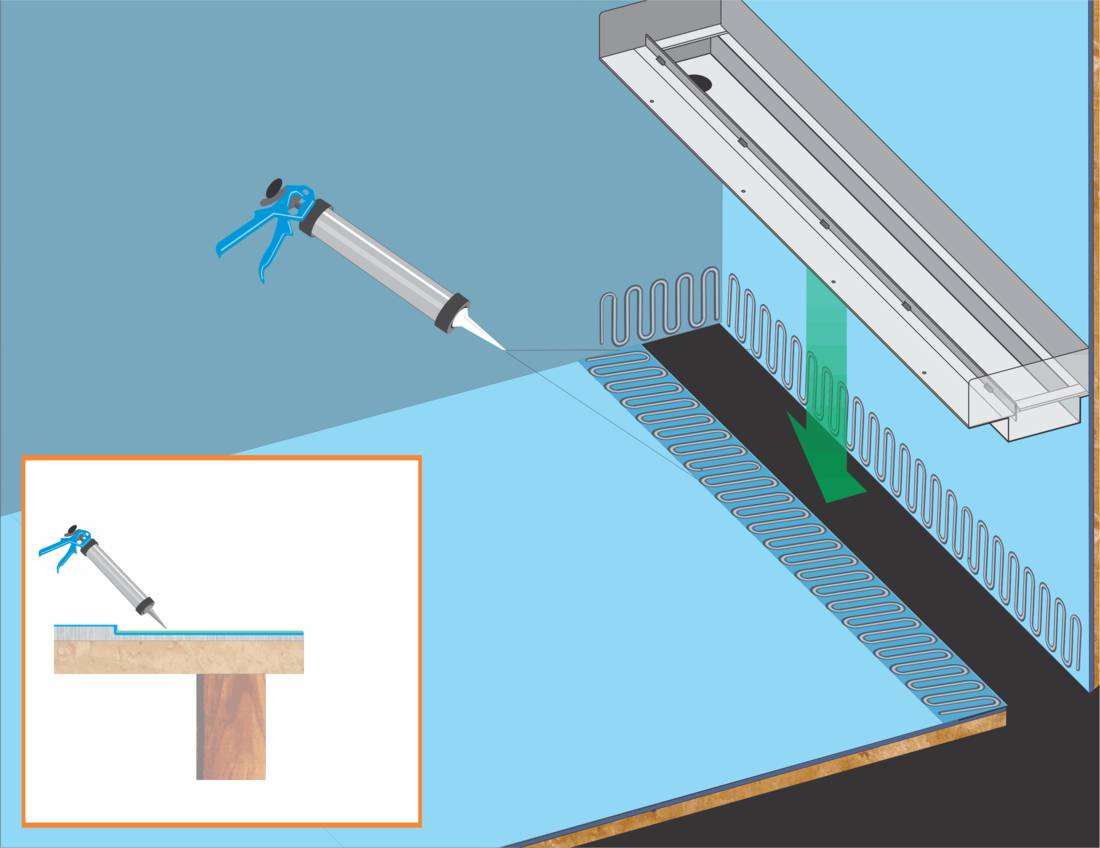
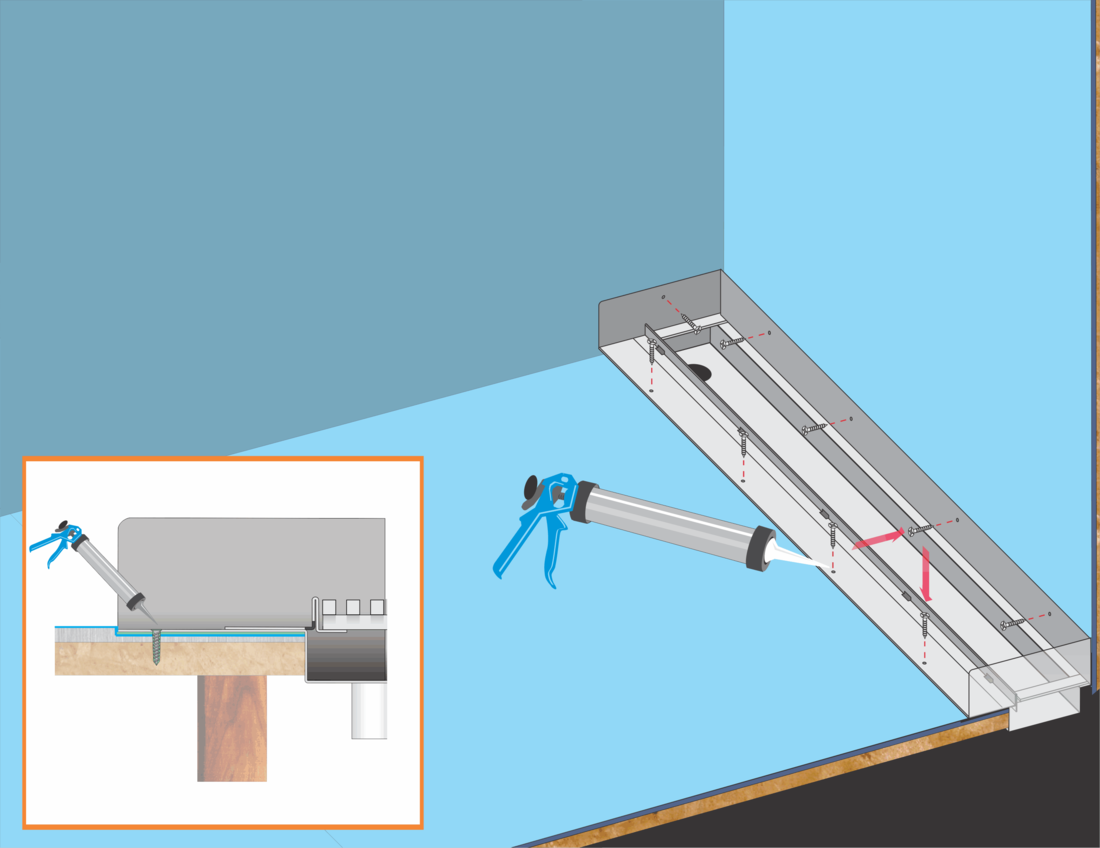
Apply Polyurethane adhesive/sealant onto the rebated area where wall and floor flashings meet.
Locate the drain channel and predrill the screw holes.
Fill each hole with a selected polyurethane sealant prior to screwing into place with stainless steel screws.
Cover the head of each screw again with sealant and allow to cure prior to preparing for primer.
Step 7
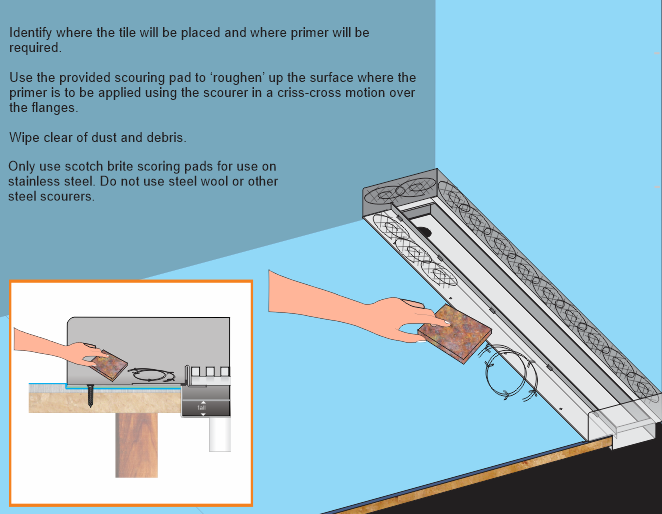
Identify where the tile will be placed and where the primer will be required.
Use the provided scouring pad to roughen up the surface where the primer is to be applied using the scourer in a criss-cross motion over the flanges.
Wipe clear of the dust and debris.
Only use scotch brite scouring pads for use on the stainless steel. Do not use steel wool or other steel scourers.
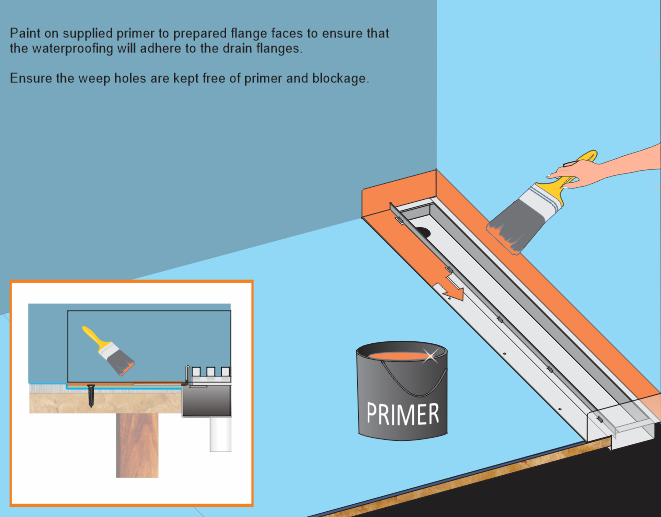
Paint on supplied primer to prepared flange faces to ensure that the waterproofing will adhere to the drain flanges.
Ensure the weep holes are kept free of primer and blockages.
Apply a second layer of waterproofing compound.
Step 10
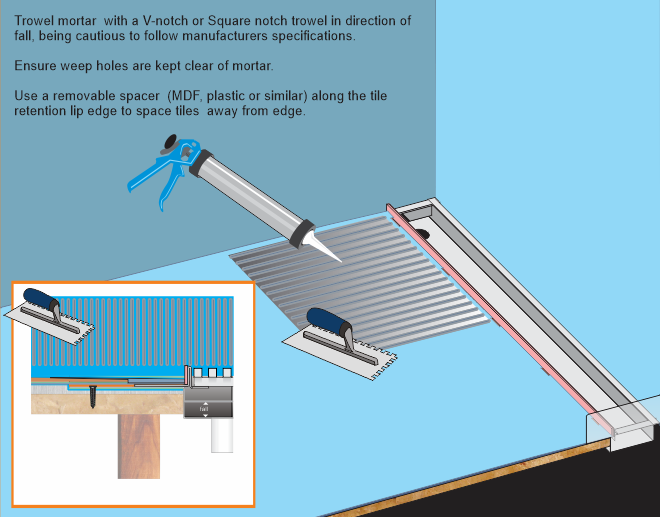
Trowel mortar with a V-Notch or square notch trowel in direction of fall, being cautious to follow manufacturers specifications.
Ensure weep holes are kept clear of mortar.
Use a removable spacer (MDF, plastic or similar) along the tile retention lip edge to space tiles away from the edge.
Step 11
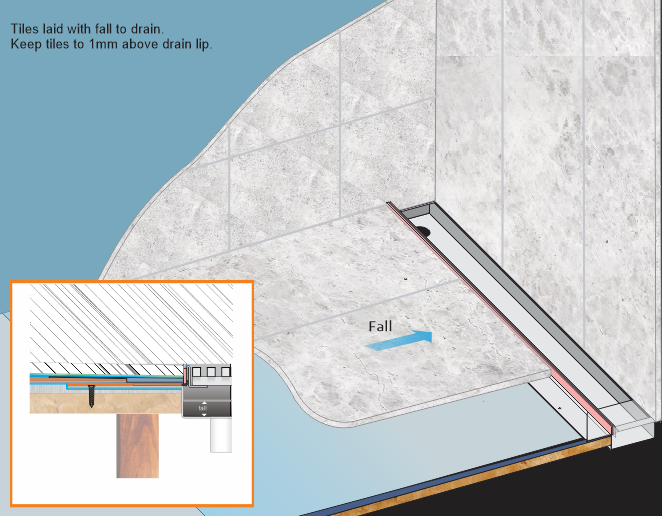
Lay the tiles with fall to the drain.
Keep the tiles to 1mm above the drain lip.
Step 12
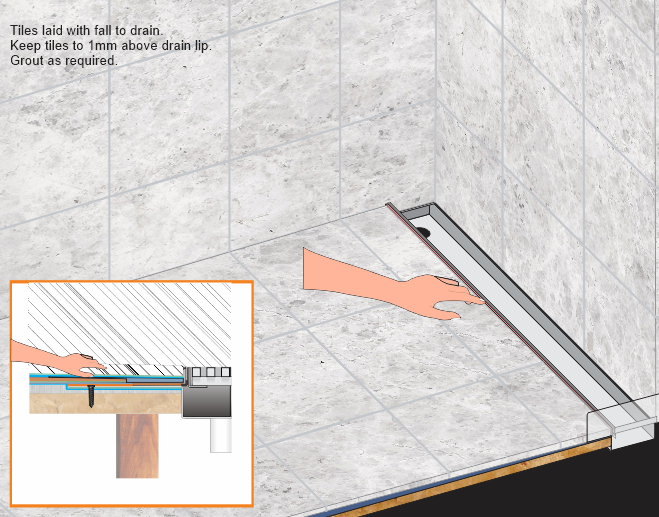
Tiles laid with fall to drain. Keep tiles to 1mm above the drain lip.
Grout as required.
Step 13
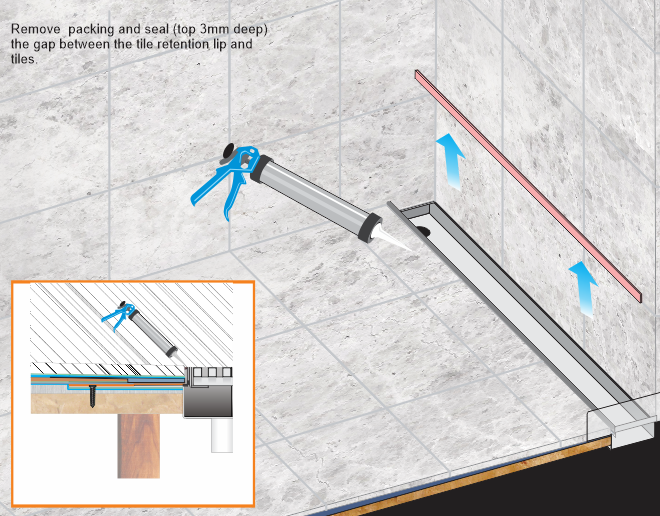
Remove the packing and seal ( top 3mm deep), the gap between the tile retention lip and tiles.
Step 14
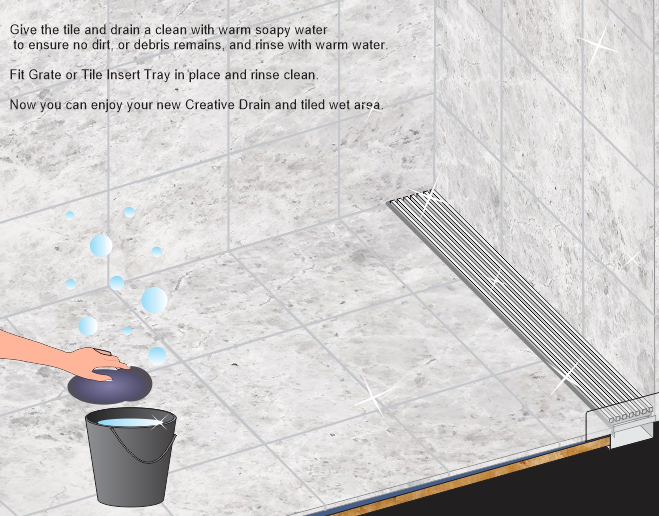
Give the tile and drain a clean with warm soapy water to ensure no dirt or debris remains and rinse with warm water.
Fit the grate or tile insert tray in place and rinse clean.
Now you can enjoy your new Creative Drain and tiled wet area.